Sauna Ventilation Basics for Backyard Saunas
How sauna ventilation works, where to place intake and exhaust vents, and what airflow rates to expect in a backyard sauna.
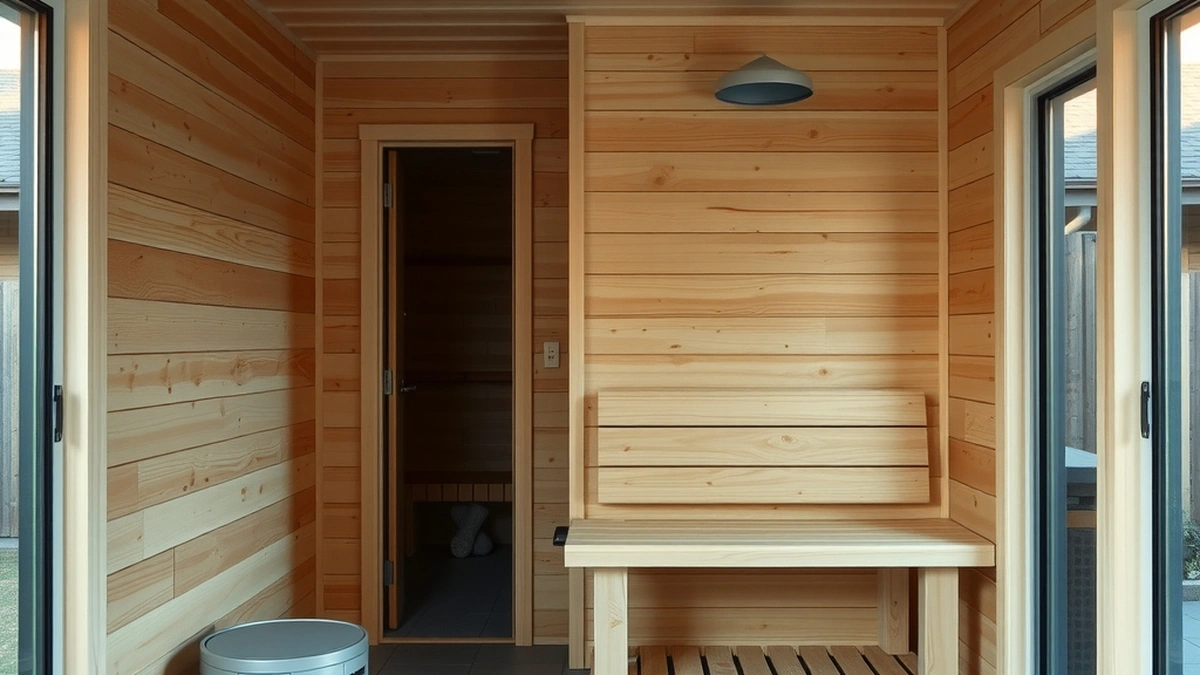
Sauna ventilation requires a low intake vent near the heater and a high exhaust vent on the opposite wall to maintain steady airflow and safe operating temperatures.
- Intake vent location
- Low on the wall, near the heater
- Exhaust vent location
- High on the opposite wall, below ceiling
- Typical vent size
- 4 to 6 inches in diameter
- Airflow direction
- Cooler air in at floor level, warm air out at ceiling
Some links on this page are affiliate links.If you buy through them we may earn a commission at no extra cost to you. We do not accept payment for rankings. Read the full disclosure.
Sauna ventilation moves air through the sauna room so the heater can operate efficiently and the space does not become stagnant. Many manufacturers specify two vents: a low intake near the heater and a high exhaust on the opposite wall. Without exchange, humidity and stale air build up, and the heater can short-cycle. Confirm the vent locations in your heater manual before cutting holes.
Why ventilation matters
A sauna heater warms the air and the surfaces in the room. As that air heats, it rises toward the ceiling. If there is no path for warm air to leave and cooler air to enter, the temperature stratifies, the heater cycles more frequently, and the room can feel stuffy. Ventilation also removes water vapor released by users and by pouring water on heater rocks, which helps protect wood surfaces from prolonged moisture exposure.
Ventilation is not a medical treatment or a substitute for safe sauna use. It is a mechanical feature that supports consistent heater performance and air quality inside the enclosure.
Typical vent placement
Most backyard saunas follow the same basic layout:
- Intake: Low on the wall, within 12 inches of the floor, and close to the heater. This draws cooler room air directly past the heating elements.
- Exhaust: High on the wall opposite the intake, usually 6 to 12 inches below the ceiling. This captures the warmest, most humid air as it rises.
The intake and exhaust should not sit on the same wall. Placing them opposite each other creates a cross-flow path that moves air across the room rather than short-circuiting it straight out the ceiling.
Vent sizing and airflow
Residential sauna vents are commonly 4 to 6 inches in diameter. The correct size depends on the room’s cubic volume and the heater’s kilowatt rating. A small 4-foot by 4-foot by 7-foot sauna holds about 112 cubic feet of air. A larger 6-foot by 8-foot by 7-foot cabin sauna holds about 336 cubic feet.
As an estimate, a ventilation system should provide enough air exchange to replace the room volume several times per hour. Exact cubic-feet-per-minute requirements vary by heater manufacturer and local code, so check the heater manual before cutting holes in the wall.
If you install adjustable dampers, you can restrict airflow during a session to retain heat and open them between sessions to flush moisture. A fully open exhaust vent will lower the room temperature faster, which may increase electricity use if you run the heater again soon after.
Electrical load example
Sauna ventilation usually relies on passive vents rather than powered fans. If you add an inline fan to assist exhaust, you must account for the electrical load on the same circuit as the heater.
Assume a 6-kilowatt sauna heater on a 240-volt circuit:
- Heater draw: 6,000 watts ÷ 240 volts = 25 amps
- Inline fan draw: 0.1 amps (estimate)
- Total estimated load: 25.1 amps
A 30-amp circuit would handle this combination, but a 20-amp circuit would not. Always verify wire gauge, breaker size, and disconnect requirements against NFPA 70 and local electrical codes before installation. Heater manufacturers such as Harvia provide specific electrical specifications that take precedence over general estimates.
Cost estimate for vent materials
Materials for a basic passive ventilation setup are inexpensive. The following table shows estimated USD costs for common components. These are estimates only; actual prices vary by retailer and region.
| Item | Estimated cost (USD) |
|---|---|
| 6-inch round wall vent, interior | $12–$20 |
| 6-inch round wall vent, exterior with rain cap | $18–$30 |
| Flexible metal duct, 5 feet | $15–$25 |
| Vent damper or adjustable shutter | $10–$25 |
| High-temperature sealant | $8–$15 |
| Total estimated materials | $63–$115 |
Labor is not included. If you hire an installer, expect additional charges based on local rates and whether framing or electrical work is required.
Common mistakes to avoid
- Placing both vents high. Warm air exits the exhaust, but no cool air enters low to replace it, so airflow stalls.
- Placing the intake far from the heater. The heater needs a direct supply of replacement air to operate efficiently.
- Using plastic ducting inside the sauna. Plastic can degrade or melt at high temperatures. Use metal ducting rated for heat exposure.
- Forgetting the rain cap. An uncapped exterior exhaust allows rain, snow, and insects into the sauna.
- Sealing the room too tightly. Some air leakage around the door is normal and helpful, but the door should still close securely.
Ventilation and sauna type
Barrel saunas and cabin saunas use the same ventilation principle, but installation differs. In a barrel sauna, the curved wall may require a custom-cut opening or a surface-mounted vent box. In a cabin sauna with flat walls, standard through-wall vents are simpler to frame.
If you are comparing sauna styles, see our overview of barrel vs cabin sauna for construction differences that affect vent placement. For heater selection, which influences airflow needs, review our guide to the best sauna heater. If you are planning a full backyard installation, check permit requirements in our article on backyard sauna permits.
Maintenance
Inspect vents every few months. Dust and lint can collect on intake grilles, and exterior caps can accumulate leaves or debris. Remove the cover, vacuum the opening, and check that the damper moves freely. If you notice condensation dripping from the exhaust duct, confirm that the pipe slopes slightly downward toward the exterior so moisture drains outside rather than back into the sauna.
Between sessions, leave the exhaust damper open for 15 to 30 minutes to help the room dry out. This reduces the risk of mildew on benches and walls without requiring a powered dehumidifier.
Final numbers
A functional sauna ventilation system typically consists of two 4- to 6-inch vents, one low near the heater and one high on the opposite wall. Material costs run roughly $63 to $115 for passive components, excluding labor. If you add a fan, include its amperage in the circuit calculation and verify compliance with NFPA 70 and the heater manufacturer’s electrical specifications.
Frequently asked questions
Where should the intake vent go?
Place the intake low on the wall, close to the sauna heater, so cooler replacement air enters where heat is generated.
Where should the exhaust vent go?
Install the exhaust high on the wall opposite the intake, typically 6 to 12 inches below the ceiling, to remove warm, moist air.
Can I run a sauna without ventilation?
No. Without ventilation, humidity and stale air build up, and the heater may cycle inefficiently or overheat the room.
What size should sauna vents be?
Most residential saunas use 4- to 6-inch round vents, though exact sizing depends on room volume and heater output.
Should the exhaust vent have a rain cap?
Yes. An exterior rain cap or louvered cover keeps precipitation out while allowing air to escape.
Do barrel saunas need different ventilation?
The same low-intake, high-exhaust principle applies, but curved walls may require custom vent framing or ducting.
Sources
Some links are affiliate links.If you buy through them we may earn a commission at no extra cost to you. We do not accept payment for rankings. Read the full disclosure.